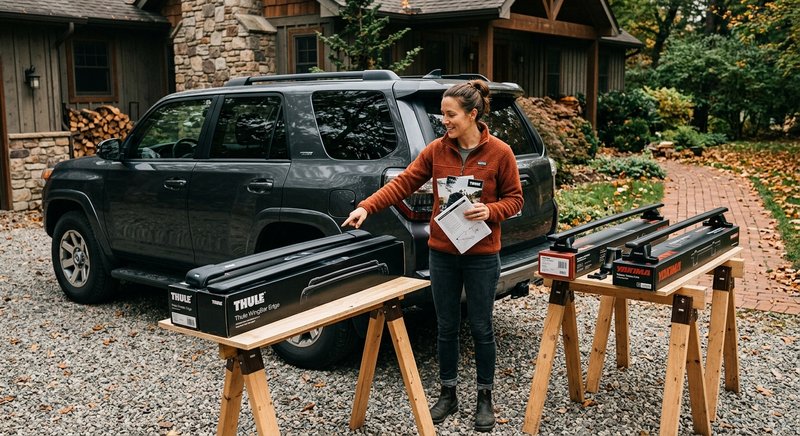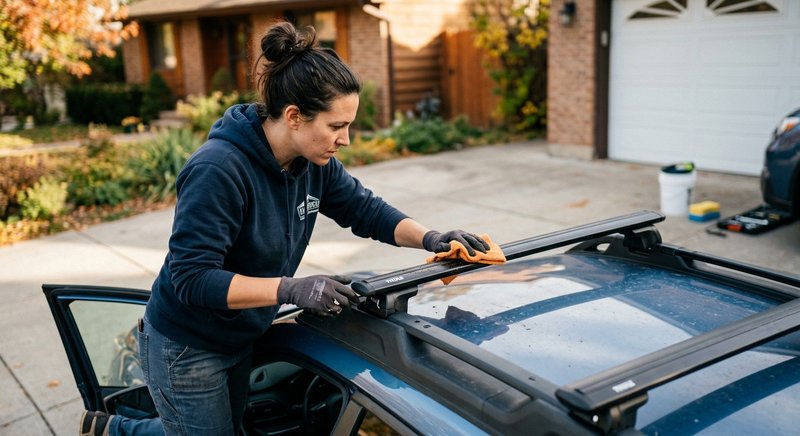
Installing a roof rack looks intimidating in the box, but most systems go from unopened package to fully mounted in under 30 minutes with basic tools. This guide walks through a typical raised-rail crossbar installation from start to finish.
What You'll Need
- Your roof rack crossbar kit with mounting clamps
- A hex key or wrench (usually included)
- A tape measure
- A soft cloth or towel to protect the roof rail finish
Step 1: Unbox and Inspect
Lay out all components before starting. Most kits include two crossbars, four mounting clamps (or two per bar), rubber gaskets to protect the rail finish, and the fasteners. Check the included instructions to confirm your specific model's clamp orientation — some brands mount front-facing, others rear-facing.
Step 2: Measure and Position
Measure your roof rails to determine the ideal crossbar spacing. As a general rule, position bars roughly one-third of the total roof length from each end for balanced weight distribution. If you plan to mount specific accessories like a cargo box or bike rack, check that product's recommended crossbar spacing and adjust accordingly.
Step 3: Attach the Mounting Clamps
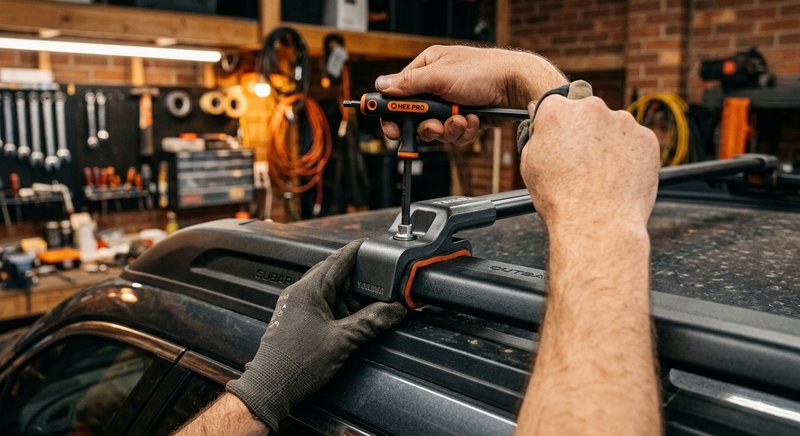
Open the clamp mechanism and position it over the raised rail. Most tool-free designs use a lever or quick-lock mechanism that clamps down with hand pressure. For bolted systems, thread the fastener through the clamp and into the mounting point, but do not fully tighten yet.
Step 4: Set the Crossbar
Slide the crossbar into the clamp mounts on both sides. Confirm it sits level and square to the vehicle before tightening anything down. A crossbar installed even slightly askew will create wind noise and reduce clamping strength.
Step 5: Torque to Spec
Once positioned correctly, tighten each clamp to the manufacturer's specified torque. Most tool-free clamps have a visual indicator (often a colored window) that shows green when properly tightened. For bolted systems, use a torque wrench if the specification is provided — overtightening can damage the rail or clamp housing.
Step 6: Test Before Loading
Grip each crossbar and apply firm side-to-side and front-to-back pressure. There should be zero movement. If you feel any play, loosen the clamp, reposition, and retighten. Never load cargo onto a rack that shifts under hand pressure.
A properly torqued crossbar should not move at all when you push on it by hand. If it shifts even slightly, stop and recheck the clamp before adding any cargo.
Step 7: Recheck After the First Drive
Hardware can settle slightly after the first few miles of driving, especially on rough roads. Recheck torque on all clamps after your first trip and periodically thereafter, particularly before long road trips or heavy cargo loads.
Common Installation Mistakes
- Skipping the gasket: Rubber gaskets protect your rail finish from scratching. Always use them if included.
- Uneven bar spacing: Measure twice before final tightening to avoid an unbalanced load.
- Undertightening: A loose clamp is the leading cause of roof rack failure. When in doubt, verify against the torque spec.
- Ignoring weight ratings: Confirm your cargo weight stays within the dynamic rating before hitting the highway.
Shop Roof Rack Systems and Mounting Kits
Every roof rack and mounting kit in our catalog ships with clear installation instructions and the hardware you need. Shop roof rack systems →